Getting Started
Your First-Year Beekeeping Calendar, Month by Month
A practical month-by-month beekeeping calendar for beginners: what to do, when to do it, and why timing matters for your first colony.
A beekeeping calendar for beginners covers roughly 12 months of tasks that align with what the colony is doing biologically, not just what the weather looks like outside. Get the timing right in your first year and you give the bees a real chance to thrive; miss key windows and problems compound fast.
January and February: Plan Before the Bees Arrive
For most of North America, January and February mean frozen ground and a cluster of bees that rarely breaks for a full inspection. That does not mean there is nothing to do. This is your best window for research and ordering.
Order Your Bees Now
Package bees and nucleus colonies sell out earlier than most beginners expect. Reputable producers in the Southeast and California open their order books in January for spring delivery. If you wait until March you may find nothing available until late in the season, which stacks the odds against a first-year colony building up enough stores before winter.
Read through package bees vs. nucs: which should a beginner buy before you commit. The short version is that a nuc gives you a head start, but a package costs less and ships more easily over long distances.
Assemble Your Equipment
Hive components need assembly, painting, and sometimes priming before installation day. Work through your step-by-step beginner's guide and make a gear checklist. At minimum you need:
- A complete hive body (bottom board, one or two deep boxes, frames with foundation, inner cover, outer cover)
- A veil and gloves rated for bee work
- A smoker and hive tool
- A feeder (entrance feeder or frame feeder)
Assemble frames, paint exterior surfaces with exterior latex, and let them cure. Raw wood absorbs more propolis and is harder to separate later.
Check Your Local Rules
Many counties and cities require registration before you keep bees. Some limit hive counts or require a setback distance from property lines. A quick call to your county extension office or state apiarist takes ten minutes and keeps you on the right side of neighbors and inspectors.
March and April: Installation Season
Spring is when first-year beekeeping actually starts for most keepers in temperate climates. Soil temperatures are warming, early pollen is flowing, and your bees should be arriving.
Installing a Package
Package bees arrive in a screened box with roughly 10,000 workers and a caged queen. The queen is separated from the workers during shipping; you release her into the hive by removing a cork from a candy plug that the workers chew through over two to five days. That delay gives the colony time to accept her scent.
Install on a calm, mild afternoon. Feed a 1:1 sugar syrup immediately so the bees have resources to draw comb and raise brood while foraging is still sparse.
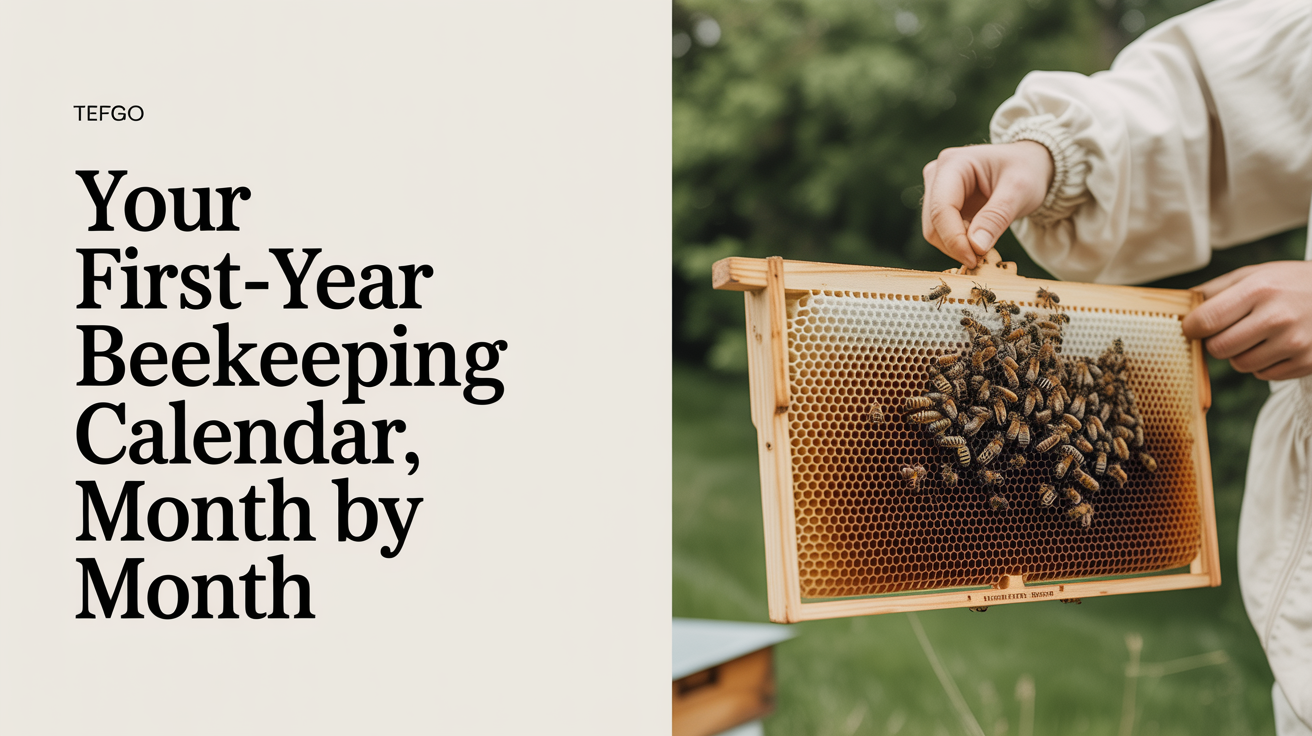
Your First Inspections
Inspect seven to ten days after installation to confirm the queen has been released and is laying. Look for eggs (they look like tiny grains of rice standing upright in cells), young larvae, and a consistent pattern across the frames. A scattered or spotty brood pattern at this stage is not unusual while the colony is still establishing, but you want to see eggs.
After the first check, inspect every ten to fourteen days through spring. You are looking for:
- Queen presence (eggs are easier to spot than the queen herself)
- Population growth
- Signs of disease or pest pressure
- Available comb space
May and June: The Buildup
A healthy first-year colony can go from a single brood box to filling two deep boxes in four to six weeks if conditions are right. This is the fastest-moving stretch of first-year beekeeping.
Swarm Prevention
Bees swarm when they feel crowded. If you see capped queen cells along the bottom edges of frames, the colony is preparing to split itself in half. Half the bees will leave with the old queen, leaving you with a smaller colony and a new queen who still needs to mate. Prevent swarms by adding space before the bees feel cramped. Add a second deep box when the first is about 70% full of bees, brood, and stores.
Should You Add Honey Supers?
In a first year, most beekeepers skip honey supers entirely. The colony needs to build up comb, population, and winter stores. Adding a super too early pulls resources away from that foundation. Your goal in year one is a strong overwintering colony, not a honey harvest. There will be seasons for harvesting once the colony is established.
July and August: Late Summer Maintenance
Summer looks calm on the surface but these months are critical for first-year colonies. Two things demand attention: Varroa mite loads and fall stores.
Test for Varroa in August
Varroa destructor is the single biggest threat to a managed colony. Every colony carries mites; the question is whether the population is below a damage threshold. The standard treatment threshold is three mites per hundred bees (3%), measured with an alcohol wash or sugar roll.
Test in July and treat if counts are at or above threshold. August is the last practical window before winter bees are raised. Those bees, produced in August and September, need to be healthy because they are the ones who will carry the colony through to spring. A mite-damaged cohort of winter bees means a colony that dwindles and dies before dandelions bloom.
Common treatment options include oxalic acid (vapor or dribble), formic acid pads, and thymol-based products. Each has temperature requirements and brood-status conditions. Read the label fully before treating and follow the withdrawal period for any product used with honey supers present.
Top Off Winter Stores
A standard two-deep Langstroth hive needs roughly 60 to 80 pounds of capped honey to make it through winter in a cold climate. Lift the back of the hive in late August to estimate weight. If it feels light, feed 2:1 heavy syrup (two parts sugar to one part water by weight) until the bees stop taking it or until temperatures drop below 50F, at which point they stop processing syrup reliably.
September and October: Closing Out the Season
The bees are raising their last brood of the year. Inspections shift from watching for swarm cells to confirming winter readiness.
Final Inspection Checklist
Do a thorough inspection in late September or early October while temperatures still allow the cluster to break:
| Item | What to look for |
|---|---|
| Queen presence | Eggs or young larvae in pattern |
| Varroa count | Retest if you treated in August; confirm drop to under 1% |
| Stores | Frames of capped honey in upper box |
| Comb condition | Old dark comb should be rotated out over time |
| Disease | American foulbrood has a distinct rotting smell; call your state apiarist if you suspect it |
Mouse Guards and Ventilation
Install a mouse guard (a metal strip with holes too small for mice but large enough for bees) at the entrance before temperatures drop. A mouse inside a winter cluster will destroy the colony. Reduce the entrance to limit drafts and predator access, but leave some opening for ventilation. Moisture kills winter clusters more often than cold does.
November Through March: Overwintering
Your job during winter is mostly to leave the bees alone. Repeated inspections on cold days chill the cluster and do more harm than good.
Check on warm days above 50F (approximately 10C) by lifting the outer cover briefly. You can knock gently on the side of the hive to hear the cluster buzz back at you. Silence does not always mean failure, but a buzzing response is reassuring.
Feed emergency fondant or candy boards through the inner cover feed hole if the cluster appears to be running low on stores before February. A colony that starves two weeks before spring is a common and avoidable loss.
Plan your second season while you wait. Track what beekeeping actually costs in year one and budget for replacements, treatments, and potentially a second hive.
Frequently Asked Questions
When do I do my first inspection after installing a package? Wait seven to ten days. Opening the hive earlier disrupts queen release and can cause the workers to reject her. After ten days you should see eggs confirming she is out and laying.
Can I harvest honey in my first year? Most first-year colonies should not be harvested. The bees need every pound of those stores to build comb and survive winter. Pulling honey from a new colony in year one is a common reason colonies die before spring. Wait until year two when the colony is established on drawn comb.
How often should I inspect during spring and summer? Every ten to fourteen days during the active season (roughly April through August). This cadence keeps you ahead of swarm cells, which can be capped within eight days of being laid. More frequent inspections are fine but unnecessary; less frequent inspections risk missing swarm preparations.
What if my queen dies mid-season? A colony without a queen will raise an emergency queen from a young larva. The process takes about three weeks from laying to mated queen. Watch for eggs again after that window. If the colony remains queenless past thirty days, consider purchasing a mated queen from a local breeder.
Do I need to treat for Varroa if I only have one hive? Yes. Mite loads grow exponentially through summer. An untreated colony typically collapses in its second year, often after spreading mites to neighboring apiaries through drifting and robbing. Testing and treating is standard practice regardless of how many hives you keep.