Hives & Equipment
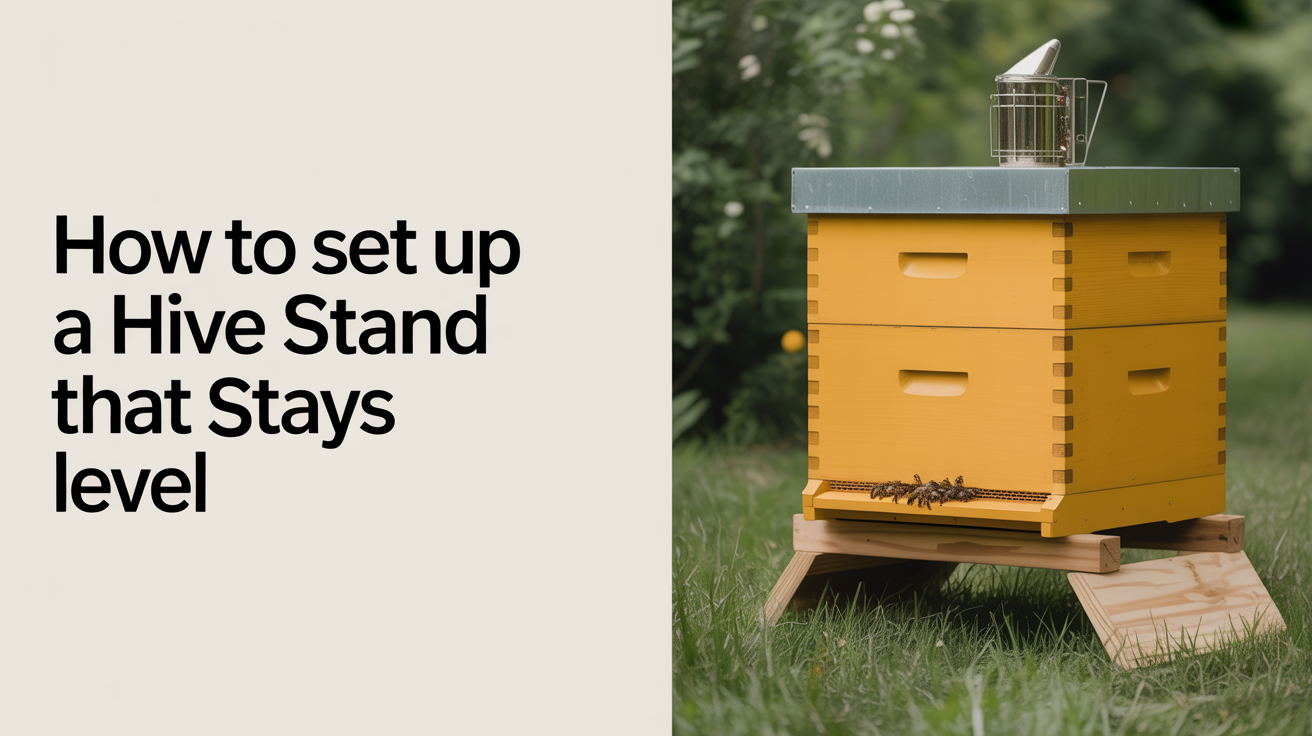
How to Set Up a Hive Stand That Stays Level
A practical guide to choosing, building, and leveling a beehive stand so comb builds straight and your colony stays healthy all season.
A solid, level beehive stand is one of the quietest pieces of gear in a beekeeper's setup, and one of the most consequential. Get it right and you rarely think about it again. Get it wrong and you spend every inspection fighting tilted frames, moisture rot, and comb built at strange angles.
Why Level Matters (and Which Direction Gets a Pass)
Bees build comb plumb and straight relative to gravity. Give them a level box and they follow the frames. Tip the box to one side and they build comb that fans out from the foundation, making frames nearly impossible to pull without tearing comb and rolling bees.
There is one intentional exception: a slight forward tilt of about 2 to 3 degrees. This low-front angle lets rainwater run out the entrance instead of pooling on the bottom board. It also discourages propolis from gluing the front lip down tight. The rule is:
- Side to side: dead level
- Front to back: a slight forward slope, around 1/4 inch of drop across the width of a standard 10-frame body
A carpenter's level placed on the top bars tells you everything you need to know. One bubble check sideways, one lengthwise, and you're done.
How High Should a Hive Stand Be?
Most experienced beekeepers land in the range of 16 to 24 inches from the ground to the bottom board. That height range covers a few practical concerns at once.
Back and knees. Hive work involves a lot of standing over an open box with your arms moving frames. A stand that puts the bottom board at shin height means you are hunching for every inspection. A stand at mid-thigh height keeps the frames closer to a comfortable working position, especially when boxes stack up in summer.
Moisture and rot. Wood that sits on bare ground, or close to it, wicks moisture and breaks down fast. Raising the hive off the ground also improves airflow under the bottom board, which helps in wet climates.
Pests and predators. Skunks are a persistent problem for ground-level hives. They scratch at the entrance at night, bees investigate, and the skunk swipes them mid-air. A stand 18 inches or higher puts the entrance above a skunk's comfortable reach. Mice can still enter a low entrance in fall, but the stand height itself does not stop them; a mouse guard does.
Snow and mud. In northern climates, a hive stand that brings the entrance to 18 inches or above keeps the opening clear of late-season snow pack and spring mud.
A stand around 18 to 20 inches suits most beekeepers in most climates. If you are very tall or have back problems, 24 inches is not unreasonable. Going above 26 inches starts to create instability as boxes stack.
Stand Options: Store-Bought vs. DIY Hive Stand
The two categories differ mainly in cost, time, and how adjustable they are on uneven ground.
| Option | Approximate Cost | Adjustable Feet | Best For |
|---|---|---|---|
| Concrete blocks + lumber | $5 to $15 | No (shim with cedar) | Flat, stable ground |
| Metal folding stand | $30 to $60 | Some models yes | Temporary or portable setups |
| Treated 4x4 post frame | $20 to $40 | No (shim as needed) | Permanent apiary locations |
| Commercial hive stand with leveling bolts | $50 to $100 | Yes | Sloped or uneven ground |
| Cinder blocks only | $10 to $20 | No | Flat ground, maximum airflow |
The simplest DIY hive stand that actually holds up over time is two cinder blocks and a pair of 2x4 or 4x4 pressure-treated rails. Set the blocks, level them, lay the rails across, and the hive sits on top. The wood rails spread the load evenly across the bottom of the hive body. This setup handles even a full two-deep plus two honey supers without flexing.
If you want to build something more permanent, a frame of 4x4 posts set into the ground with a crossbar is stable for years. Use ground-contact rated lumber (rated for direct soil contact), not standard construction grade. Standard untreated lumber in ground contact rots within two or three seasons.
For anyone newer to the hobby, it's worth reading through the beekeeping starter kit worth buying first before spending much on specialty equipment. A stand is one place where simple and cheap outperforms elaborate.
Leveling a Beehive on Uneven Ground
Most backyard apiary spots are not perfectly flat. Grass grows unevenly, soil settles, and even a concrete patio can slope toward a drain. Here is how to handle it:
Step 1: Find your low side. Set the stand in place and put a level on it. Identify which corner or side sits low.
Step 2: Shim the low side. Cedar shims are the best material here because cedar resists rot. Composite shims (plastic) also work well and last longer than wood. Avoid standard pine shims; they compress and rot within a season or two. Hardware stores sell bundles of cedar shims cheaply.
Step 3: Adjust for the slight forward tilt. Once the stand is level side to side, add a small shim under the rear legs or the back of a cinder block to give the front that 1/4-inch drop. Check with a level set lengthwise.
Step 4: Recheck after the first week. Soft ground compresses under the weight of a loaded hive, especially in spring when soil is wet. Come back after a week, check the level, and adjust. After that initial settling period, most setups stay put for the season.
Step 5: Anchor for wind. A tall stack of hive bodies in summer can reach 40 or 50 pounds or more. In open yards, a strong thunderstorm can tip an unsecured hive. A ratchet strap around the hive from bottom board to outer cover costs a few dollars and prevents a disaster. Some beekeepers stake the stand itself to the ground with metal stakes.
Materials and Hardware Worth Using
A few choices in materials make a real difference in how long a stand lasts:
- Pressure-treated lumber rated for ground contact. Look for the tag on the end of the board. UC4B or UC4C ratings handle ground contact. Standard ACQ-treated deck lumber is rated for above-ground use and not the same thing.
- Galvanized or stainless fasteners. Zinc-plated screws corrode faster than the lumber rots. Use hot-dipped galvanized or stainless deck screws.
- Cedar shims for leveling. As noted above, these last well and can be trimmed with a utility knife to the exact thickness you need.
- Gravel under concrete blocks. If you are setting blocks directly on the ground, a 2-inch layer of coarse gravel under each block gives drainage and resists frost heave better than bare soil.
Thinking about which hive style you are building a stand for changes the sizing slightly. A top-bar hive, for example, has a very different footprint and weight distribution than a Langstroth. If you are still deciding on a hive style, the comparison in Langstroth, top-bar, or Warre: choosing your first hive covers the physical differences worth knowing before you build anything. And if you are working with Langstroth equipment and have not settled on box depth, deeps vs. mediums: picking your hive box sizes is relevant to understanding the final loaded weight you are designing for.
Checking and Maintaining the Stand Through the Season
A stand that was level in April may not be level in August. Weight changes dramatically as boxes stack up, brood expands, and nectar flows in. Periodic checks take about 30 seconds:
- Early spring: Reset the level after winter frost heave has settled. Cold soil moves.
- Before adding supers: A heavy nectar flow can add 50 or more pounds to the stack in a few weeks. Check once before you add boxes.
- After heavy rain: Saturated soil compresses. If you had a wet stretch, verify the level at your next inspection.
On permanent setups, you can also paint or seal the wood surfaces that are exposed to weather. Linseed oil, exterior wood sealer, or exterior paint all extend the life of a wooden stand significantly. Avoid oil-based products that take a long time to dry if bees are actively flying, since fresh oil coatings can trap bees that land on the surface.
Frequently Asked Questions
Does a beehive have to be perfectly level? Side to side, close to perfect is worth the effort. A quarter-inch of wobble over the width of a 10-frame box creates visible comb distortion over time. Front to back, a slight forward tilt (1/4 inch drop toward the entrance) is intentional and helps with drainage.
Can I use untreated lumber for a hive stand? You can, but it will not last. Untreated pine or fir in contact with the ground or in wet grass typically shows serious rot within two seasons. Pressure-treated ground-contact rated lumber lasts a decade or more with minimal maintenance.
What if my backyard slopes too much for shims to handle? Dig out one side slightly, or build a stand with legs cut to different lengths to match the slope. On very uneven ground, a commercial stand with threaded leveling feet is easier to dial in than shimming a fixed frame.
How do I stop the hive from tipping in wind? A ratchet strap from the bottom board to the outer cover secures the stack. On a wooden stand, you can also add hive straps anchored to the stand frame itself, or drive ground stakes through holes in the stand legs.
Does stand height affect swarm behavior? Stand height does not prevent swarming. Swarming is driven by colony size, queen age, and internal congestion. A stand at any reasonable height does not change that calculus. What height does affect is your ability to work the hive comfortably and the hive's exposure to ground-level pests.